Once upon a time, in the Zagros Mountains of Persia, there lived a princess who had fallen afoul of the king’s favor. So guilt-stricken was she that she attempted to take her own life by eating grapes that, having been left in the hot sun, looked as though they’d already been through some other animal’s digestive tract.
But instead of dying from Montezuma’s revenge, she got drunk, told the king to go step on a Lego, and ran away to seek better fortunes elsewhere. Or at least I hope so. Kings should have better things to do than shame princesses.
This is the fable of how wine was discovered. Those grapes that appeared to be pooled in their own rotting juices were actually pooled in their own fermenting juices. And what is fermented grape juice? Wine, my friends!
The moral of this story? Wine is so frightfully easy to make, it can be done quite by accident. Making decent wine, on the other hand, is a very different story and one we shall be sharing with you in this article. So, without further ado (or fanciful fables), here is how to make wine at home.
You’re welcome!
What Are the Two Approaches to Homemade Wine?
There are two ways you can go about making wine at home. First, you can purchase a comprehensive home wine-making kit, which contains all the ingredients and equipment you need. This would save you a heck of a lot of hassle, especially because many varieties, like cabernet sauvignon or pinot noir, may be difficult to source yourself unless you have a wine farm contact.
The second method is to treat home wine-making like a real DIY / science project. This may be more complicated and take longer, but the level of smugness achieved at the end (if you produce something drinkable) will be stratospheric. And your friends will have to put up with you bragging about it for the rest of their natural lives.
In this article, we’re going to lay out the step-by-step of this second approach, from buying grapes to bottling. Be warned, though: this is a long, arduous process. Making wine from scratch can take up to a year and involves many steps. But if you’re organized, on time with your steps, super diligent about sanitizing, and make a large volume of wine, it’s totally worth it.
Are you ready for this crash course in wine-making for beginners? Let’s get started …
Oh, and by the way: to deeply understand and master all of the theory I'm about to walk you through in this guide, get Brainscape’s WSET Level 2 or Wine Appreciation flashcards, and learn about wine in your free time!

Step-by-Step on How to Make Wine at Home
Checklists
Wine-making steps
- Step 1: Sanitize all your equipment
- Step 2: Acquire wine grapes
- Step 3: Crush the grapes
- Step 4: Add a preserving agent
- Step 5: Add the yeast
- Step 6: Allow for primary (alcoholic) fermentation
- Step 7: Ventilate your workspace!
- Step 8: Shake up your fermentation vat on the daily
- Step 9: Use a hydrometer to measure sugar content
- Step 10: Macerate your grapes
- Step 11: Strain your grape must
- Step 12: Allow for secondary (malolactic) fermentation
- Step 13: Rack your wine to improve clarity
- Step 14: Clarify your wine
- Step 15: Cold stabilization
- Step 16: Bottling
- Step 17: The final three-month stretch
- Step 18: Drink!
Step 1: Sanitize All Your Equipment
Using a sterilizing agent like Star San Brewing Sanitizer, deeply clean all of your equipment, buckets, and the location you intend to use to make your wine. You don’t want any bacteria infiltrating your operation because those buggers are only going to multiply while you wait for your wine to mature, and ruin the finished product.
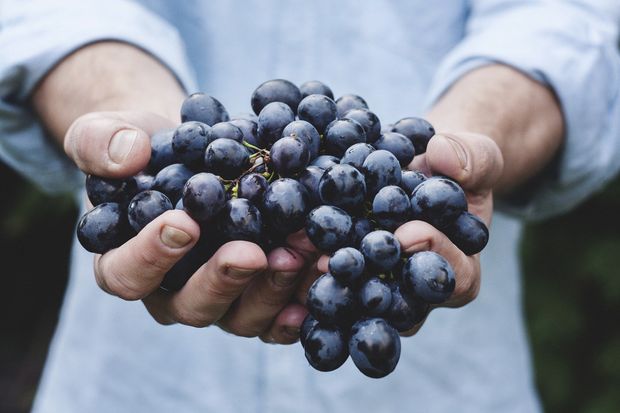
Step 2: Acquire Wine Grapes
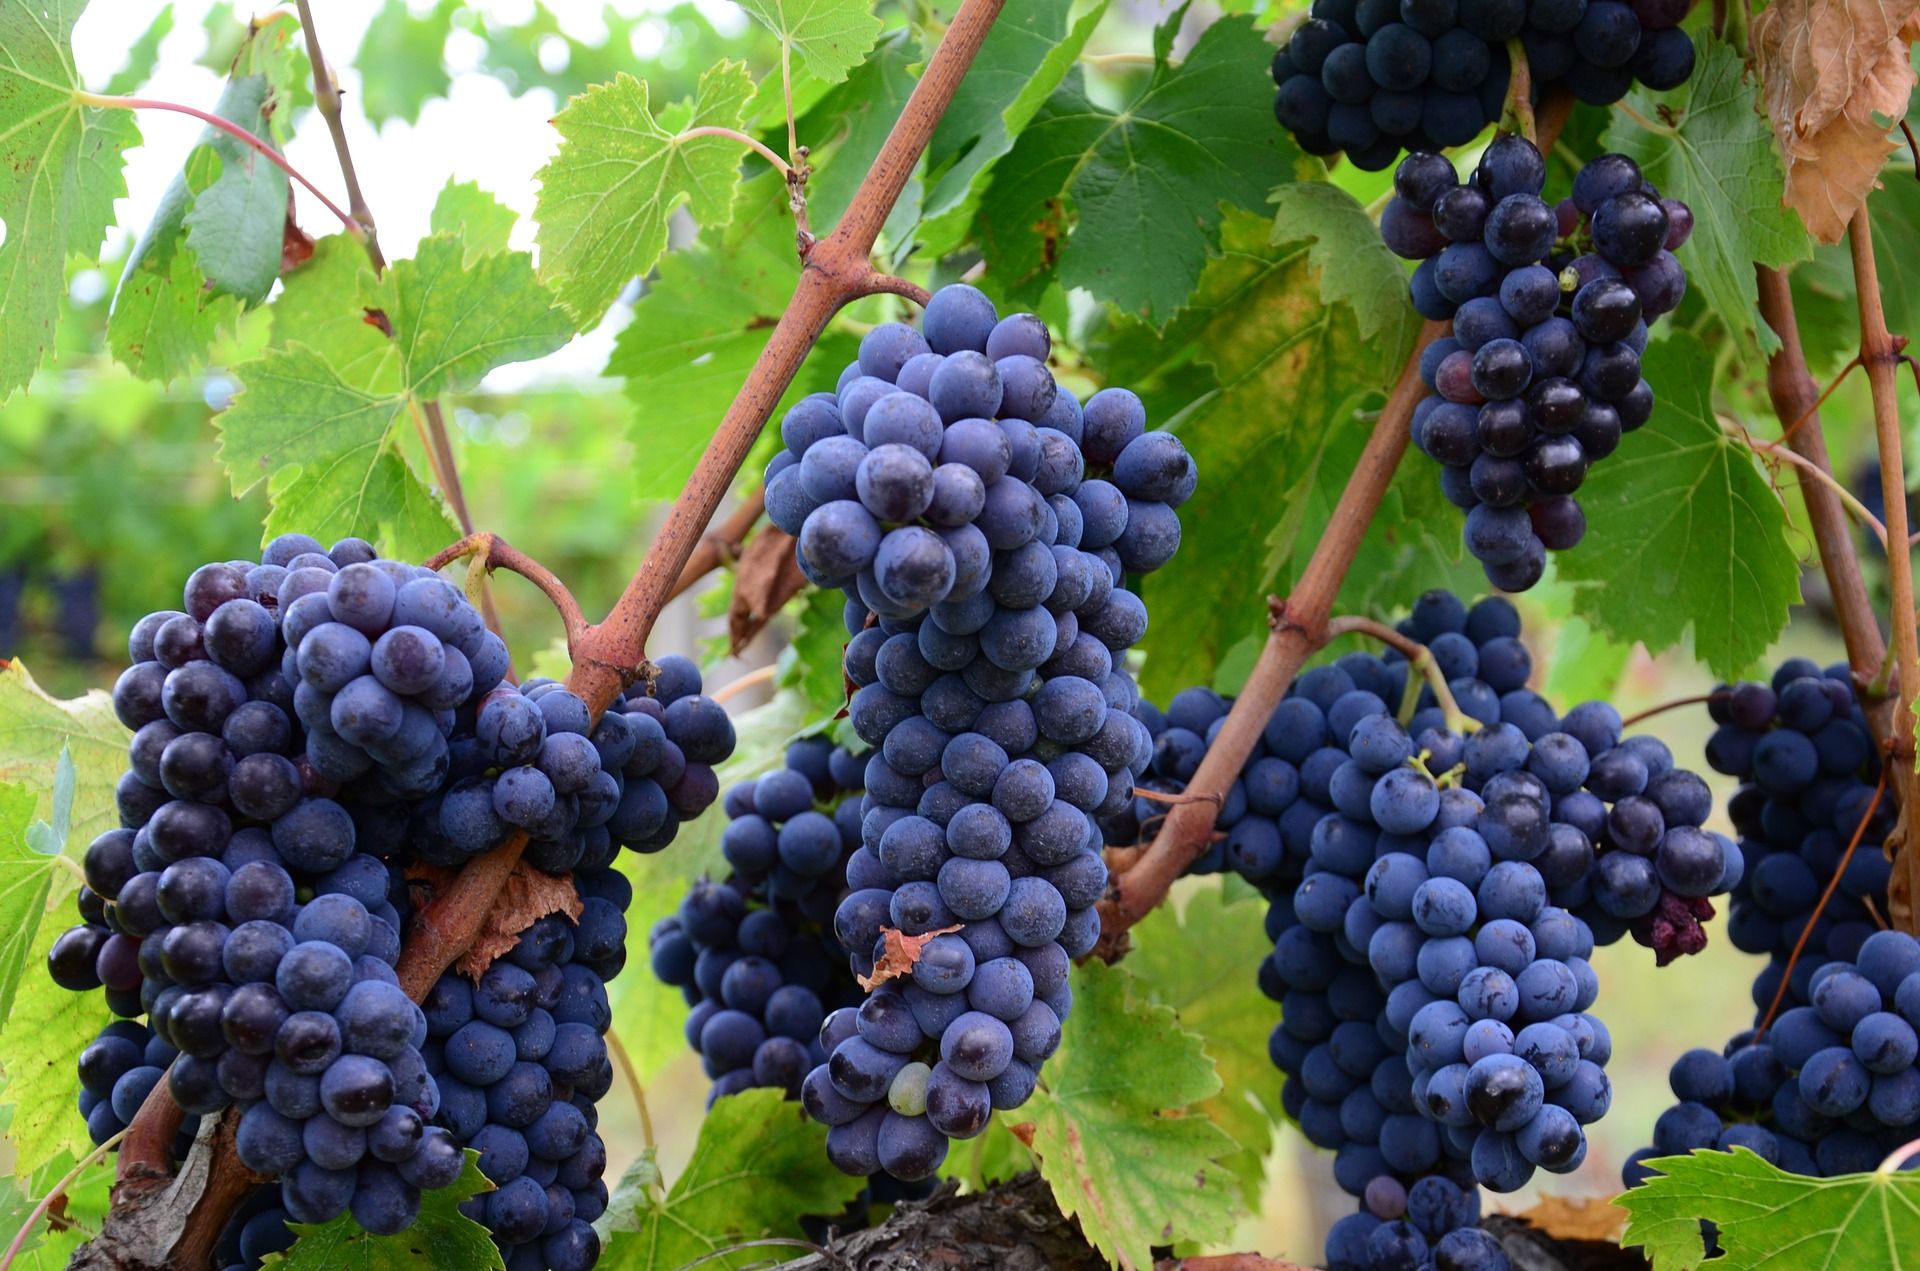
What you’re after are wine grapes ... not table grapes for eating, which is what most supermarkets and grocery stores sell. So, on the hunt for fresh, quality wine grapes*, you’ll have to go straight to the source: the vineyard.
You can peruse www.WineGrapesDirect.com or call up your local vineyard/wineries to see if they sell bulk wine grapes or even frozen wine grape juice (or are willing to make an exception for you). Failing that—because wine grapes aren’t readily available to the public—you can use Chasselas, muscat, or concord grapes, which are both wine and table grapes. Crafty.
Either way, go with the best quality you can source because you cannot make good wine from bad grapes! Make sure the grape skins are smooth and supple (not wrinkled and beginning to rot) and the stems green and bendy with vitality.
How many grapes should I buy?
Well, it takes just over 2.2 pounds (or 1 kilogram) of grapes to make a 750 ml bottle of wine and, therefore, 13.2 pounds for a case of six. But if you account for natural shrinkage over time, it’s probably best to round that number up to 15 pounds.
Also, if you’re going to all the trouble to make your own wine at home—and are prepared to wait many, many months for the finished product—you might as well buy enough to make several cases of wine.
Wine grapes don’t cost more than a few dollars a pound, anyway, so how much wine you make comes down to how much space you have for your project.
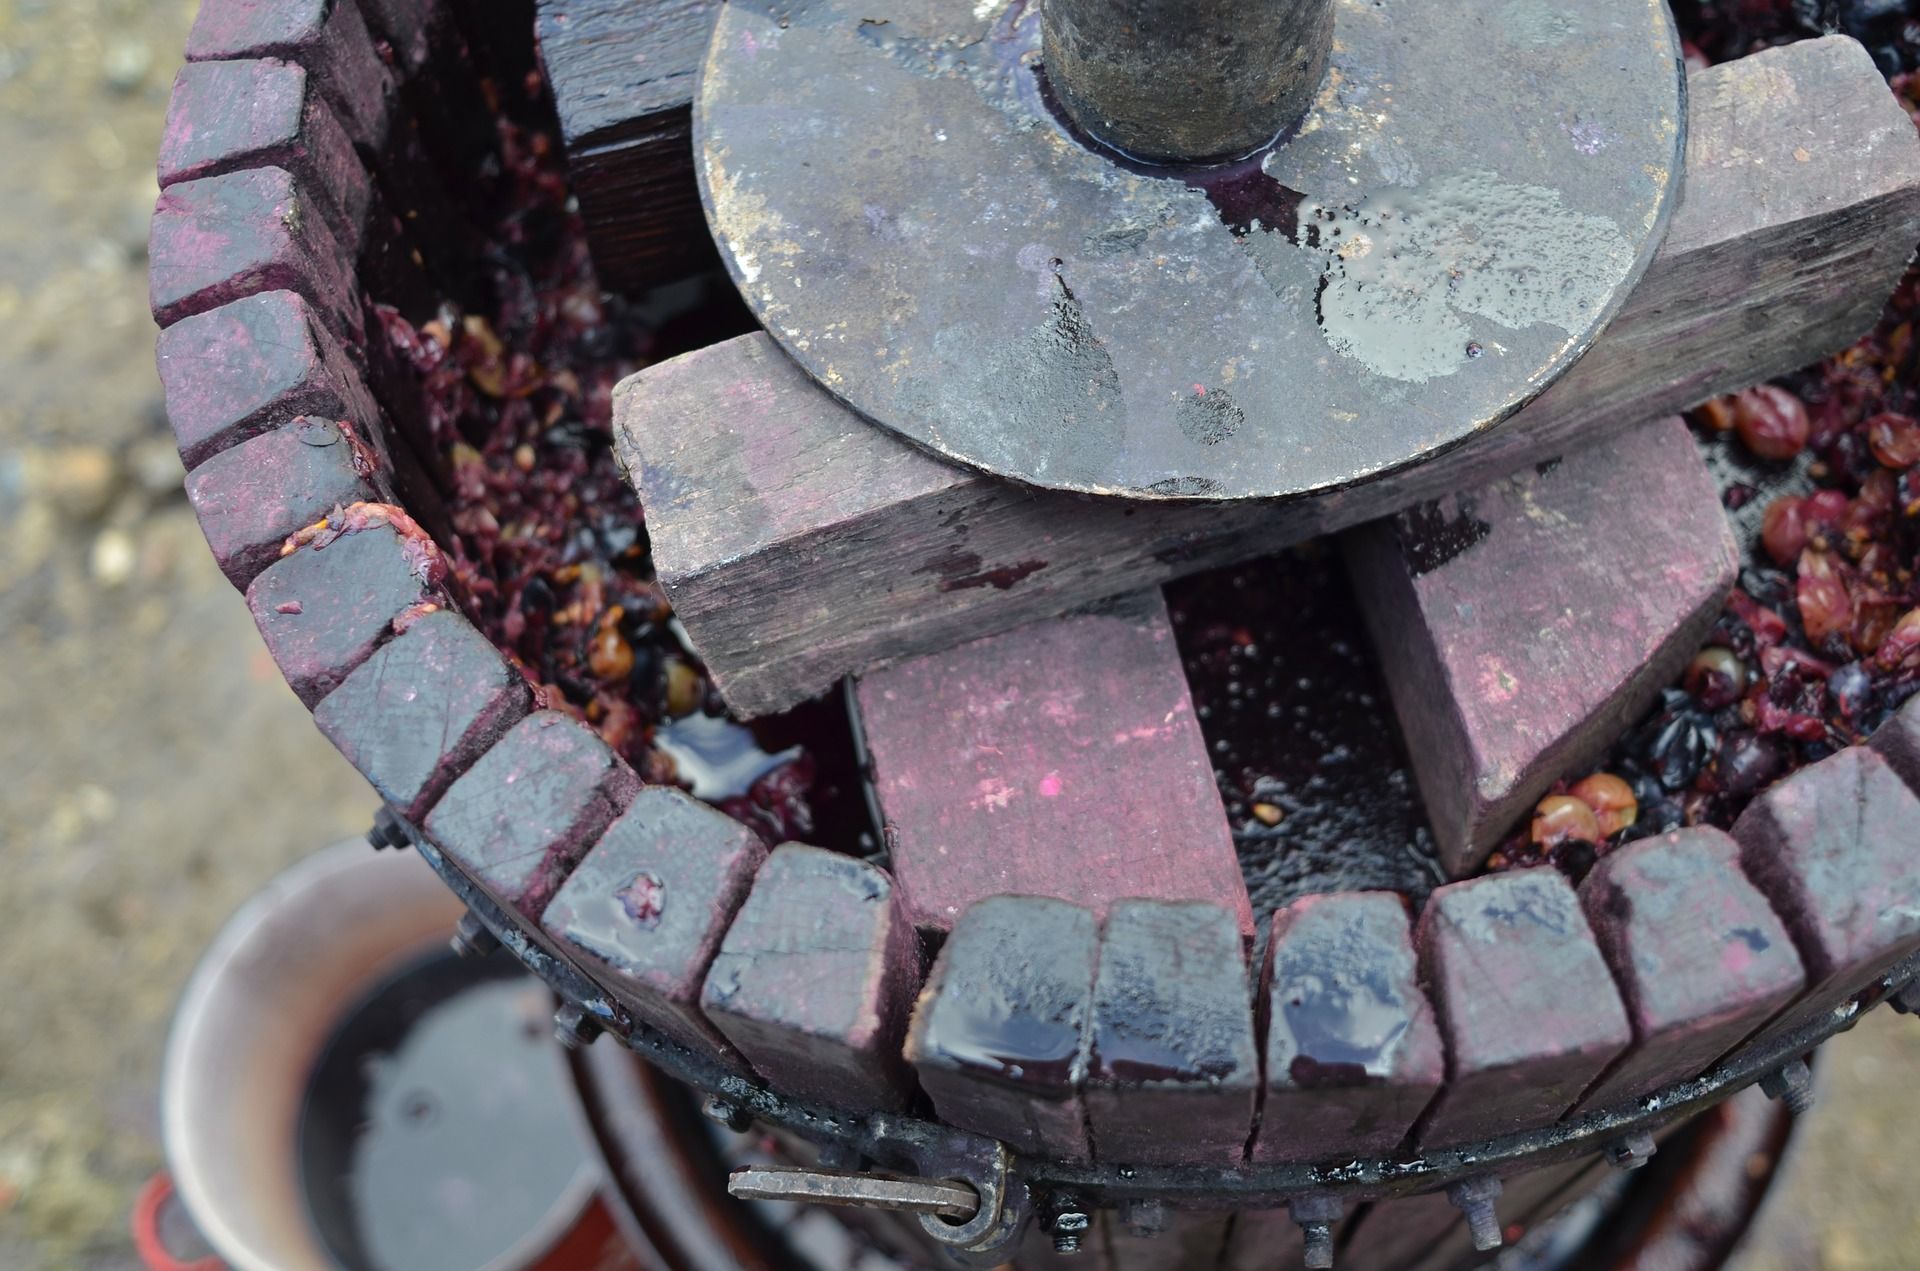
Step 3: Crush the Grapes
Remove any dirt and accidental insects from your grapes and then pluck them off their stems (discarding any shriveled, wrinkled, molded fruit) and throw them into a large, sanitized food-grade-quality plastic bucket.
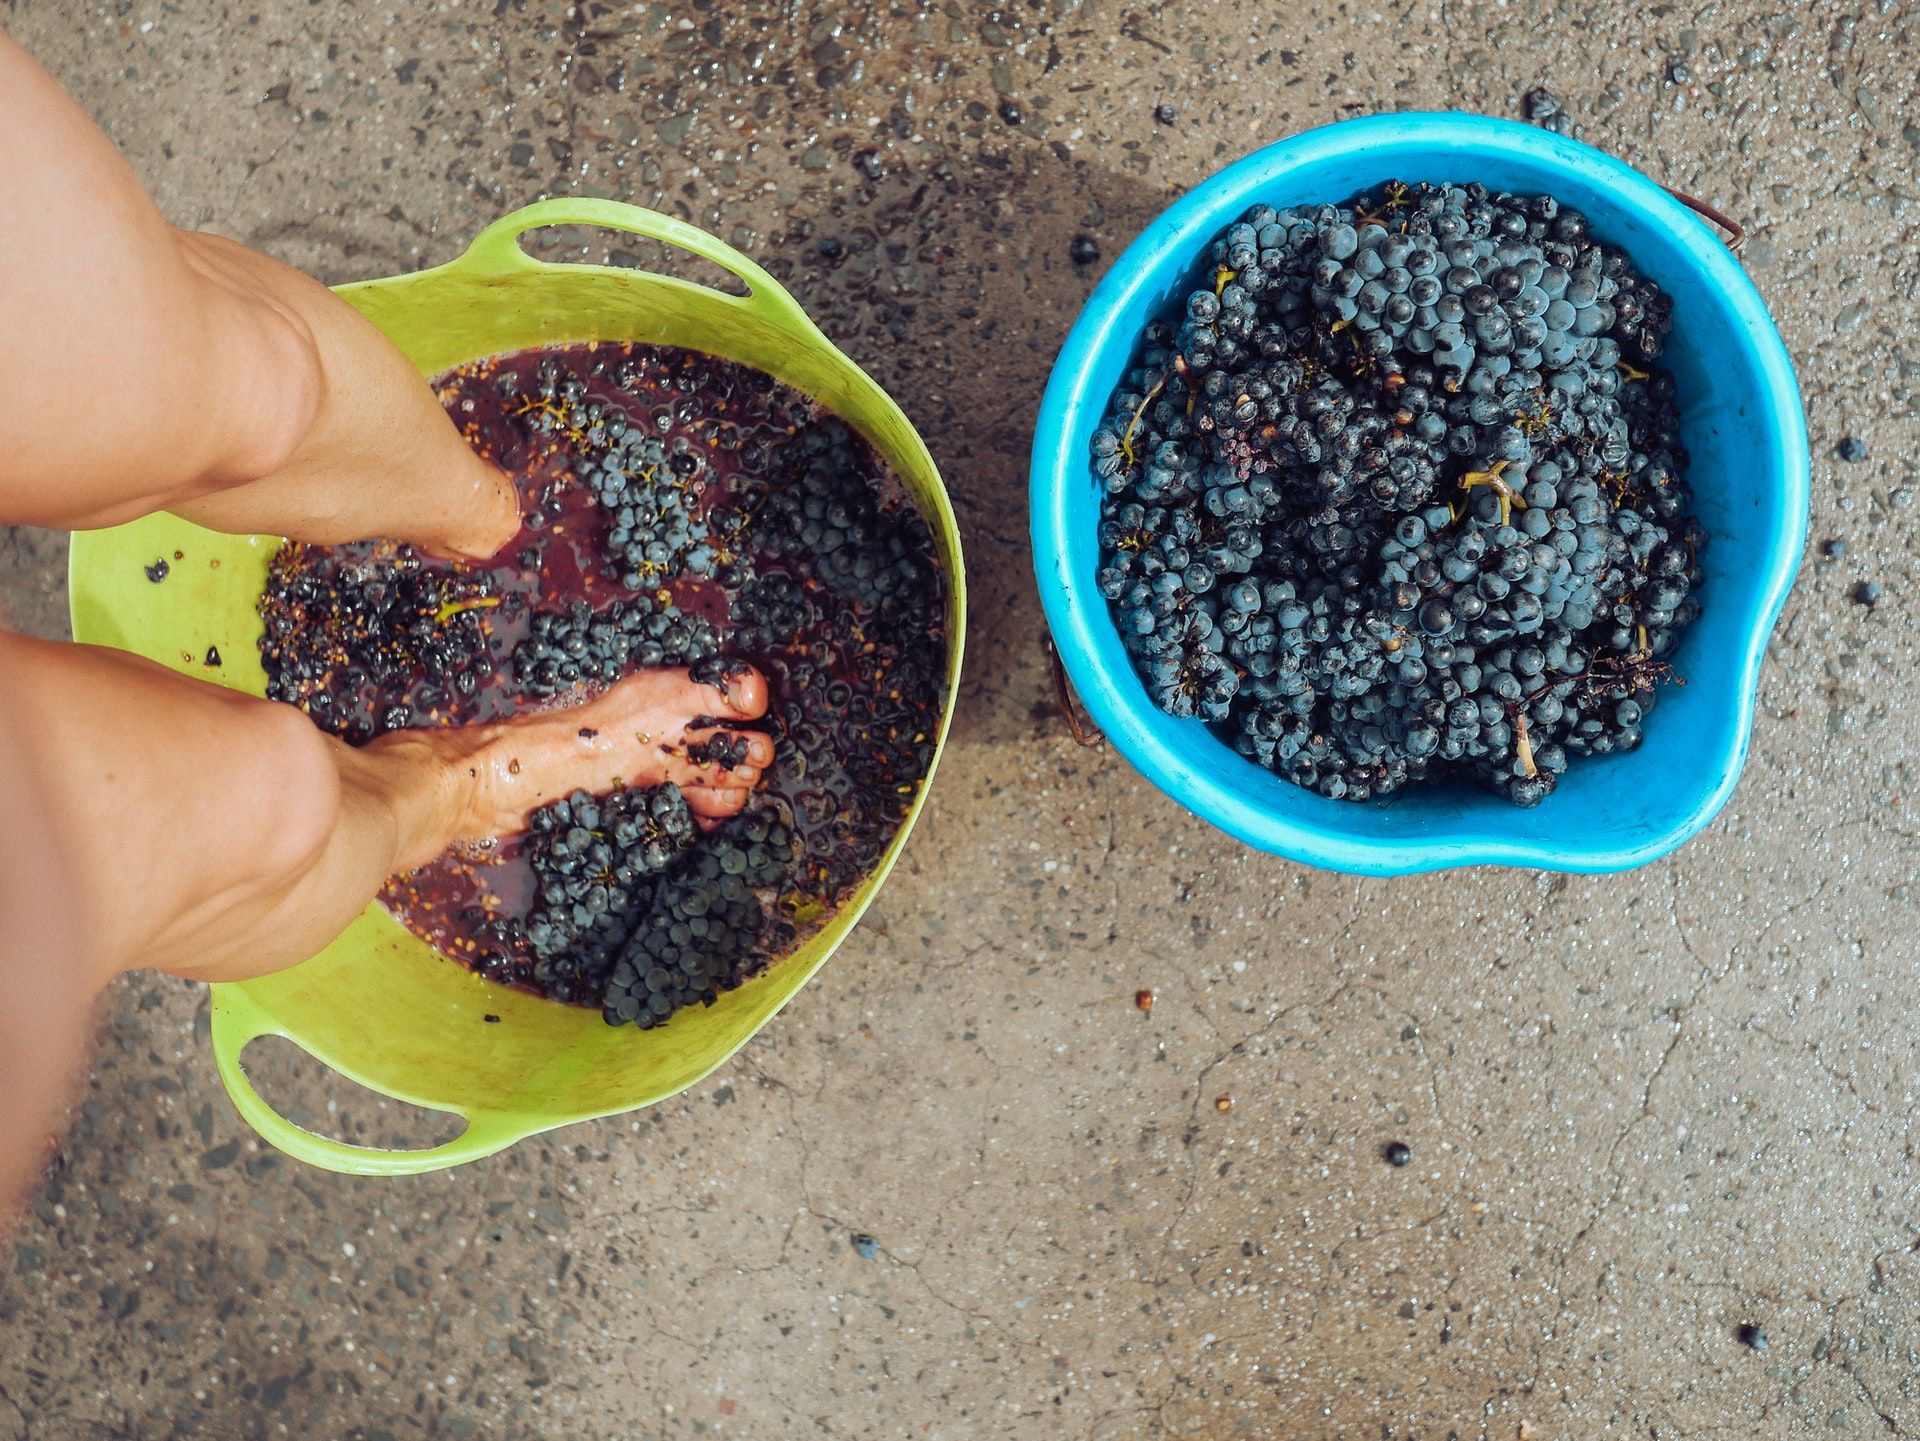
Now, here comes the fun part: think of something that’s really been annoying you lately and take it out on the grapes. Crush those little bastards, leaving no berry unobliterated.
You can do this with a potato masher, your bare hands, or even your feet, provided they’re clean and sanitized. There’s nothing more soothing than the cool and slimy squelch of grape pulp between your toes. Plus, you get to enjoy the look of horror on your mother-in-law’s face when you tell her how you made the wine she’s drinking.
Step 4: Add a Preserving Agent
Bacteria are unavoidably everywhere, and even though you’ve sanitized your bucket, you’re still going to need to add some kind of preserving agent to your squelchy grape mix (called ‘must’) if you don’t want to spend the next few months making vinegar.
The most commonly used preserving agent in winemaking is potassium metabisulphite (K2S2O5) or sodium metabisulphite (Na2S2O5). This should ring a bell if you’ve seen the “contains sulfites'' written on the label of a wine bottle.
Where can you get such a fancy-sounding chemical? Easy! Campden tablets are specifically made for wine, cider, and beer-making, and not only kill bacteria and inhibit the growth of most wild yeasts but also eliminate chlorine from water solutions, which is nice if you’ve used tap water to wash your equipment.
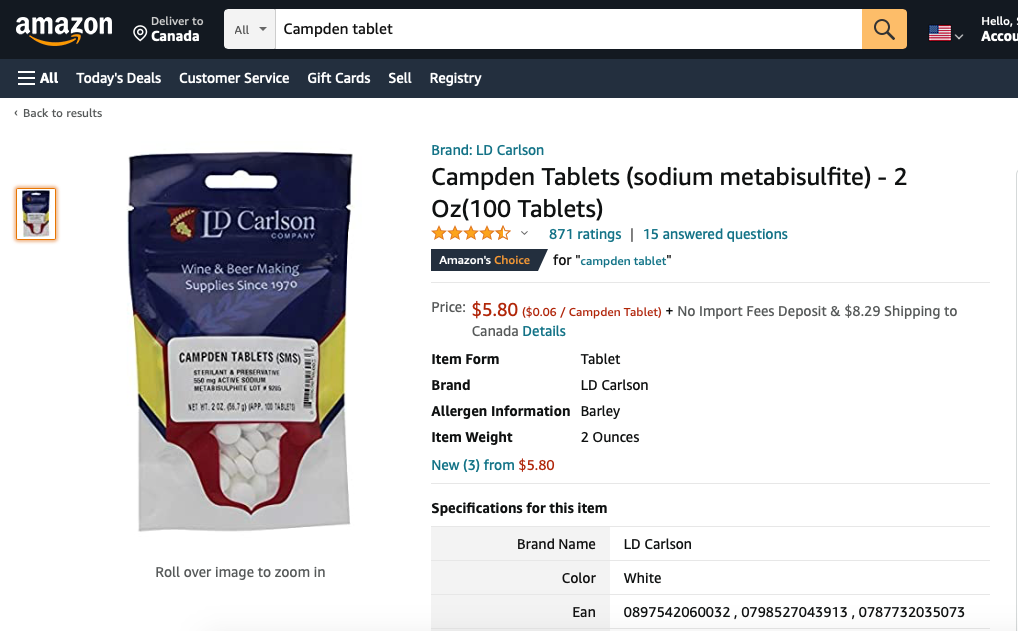
Add one regular crushed Campden tablet per gallon of grape must, and mix it in thoroughly to make sure it’s properly integrated.
Important: allow to sit for at least one full day (24 hours) or else the sulfites will simply kill off the yeast you add in the next step.
Step 5: Add the Yeast
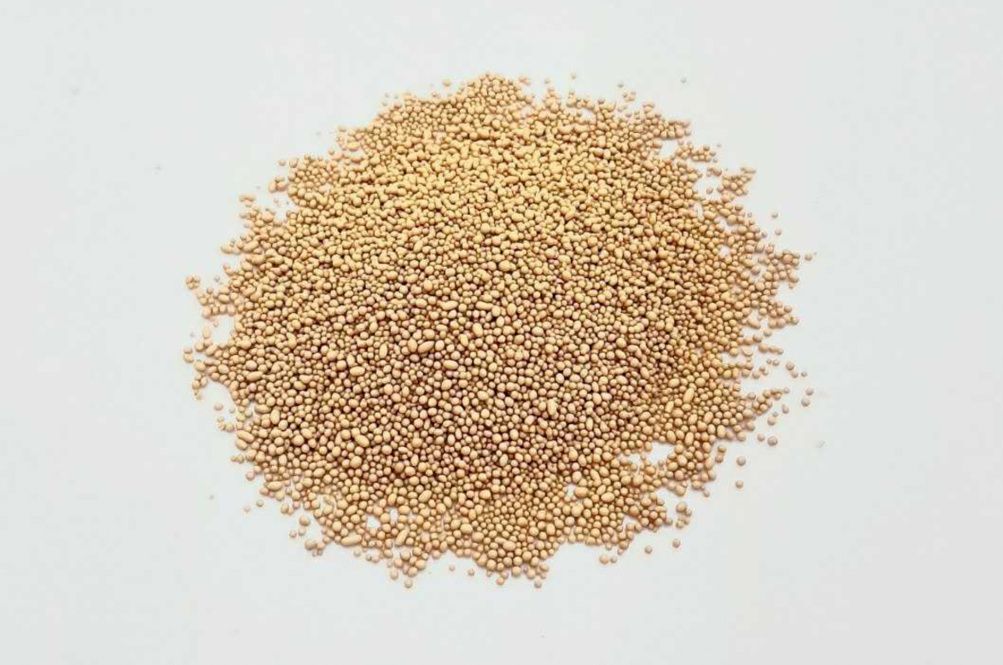
The next step is to turn your grape must into alcoholic grape juice, and how you do this is very simply by adding yeast: 5 grams for any volume up to 5 gallons, and then 1 gram per gallon thereafter. (Mix the dry yeast into a little warm sugary water beforehand to activate it.)
Yeast is composed of single-celled fungi that litter the planet like confetti. At last count, there were more than 1,500 different species of yeast, but the one winemakers like to use is a strain of Saccharomyces cerevisiae, which is pretty much the same one used to make bread rise. As such, you can use baker’s yeast, which is readily available from any grocery store. But if you’d prefer the fancy stuff, you can order wine yeast like Lalvin K1-1116 online.
Once you’ve poured in the yeast solution, mix it into your grape must thoroughly, and then place the lid over your bucket to prevent oxidation and bacteria from throwing a pool party. It’s time for fermentation!
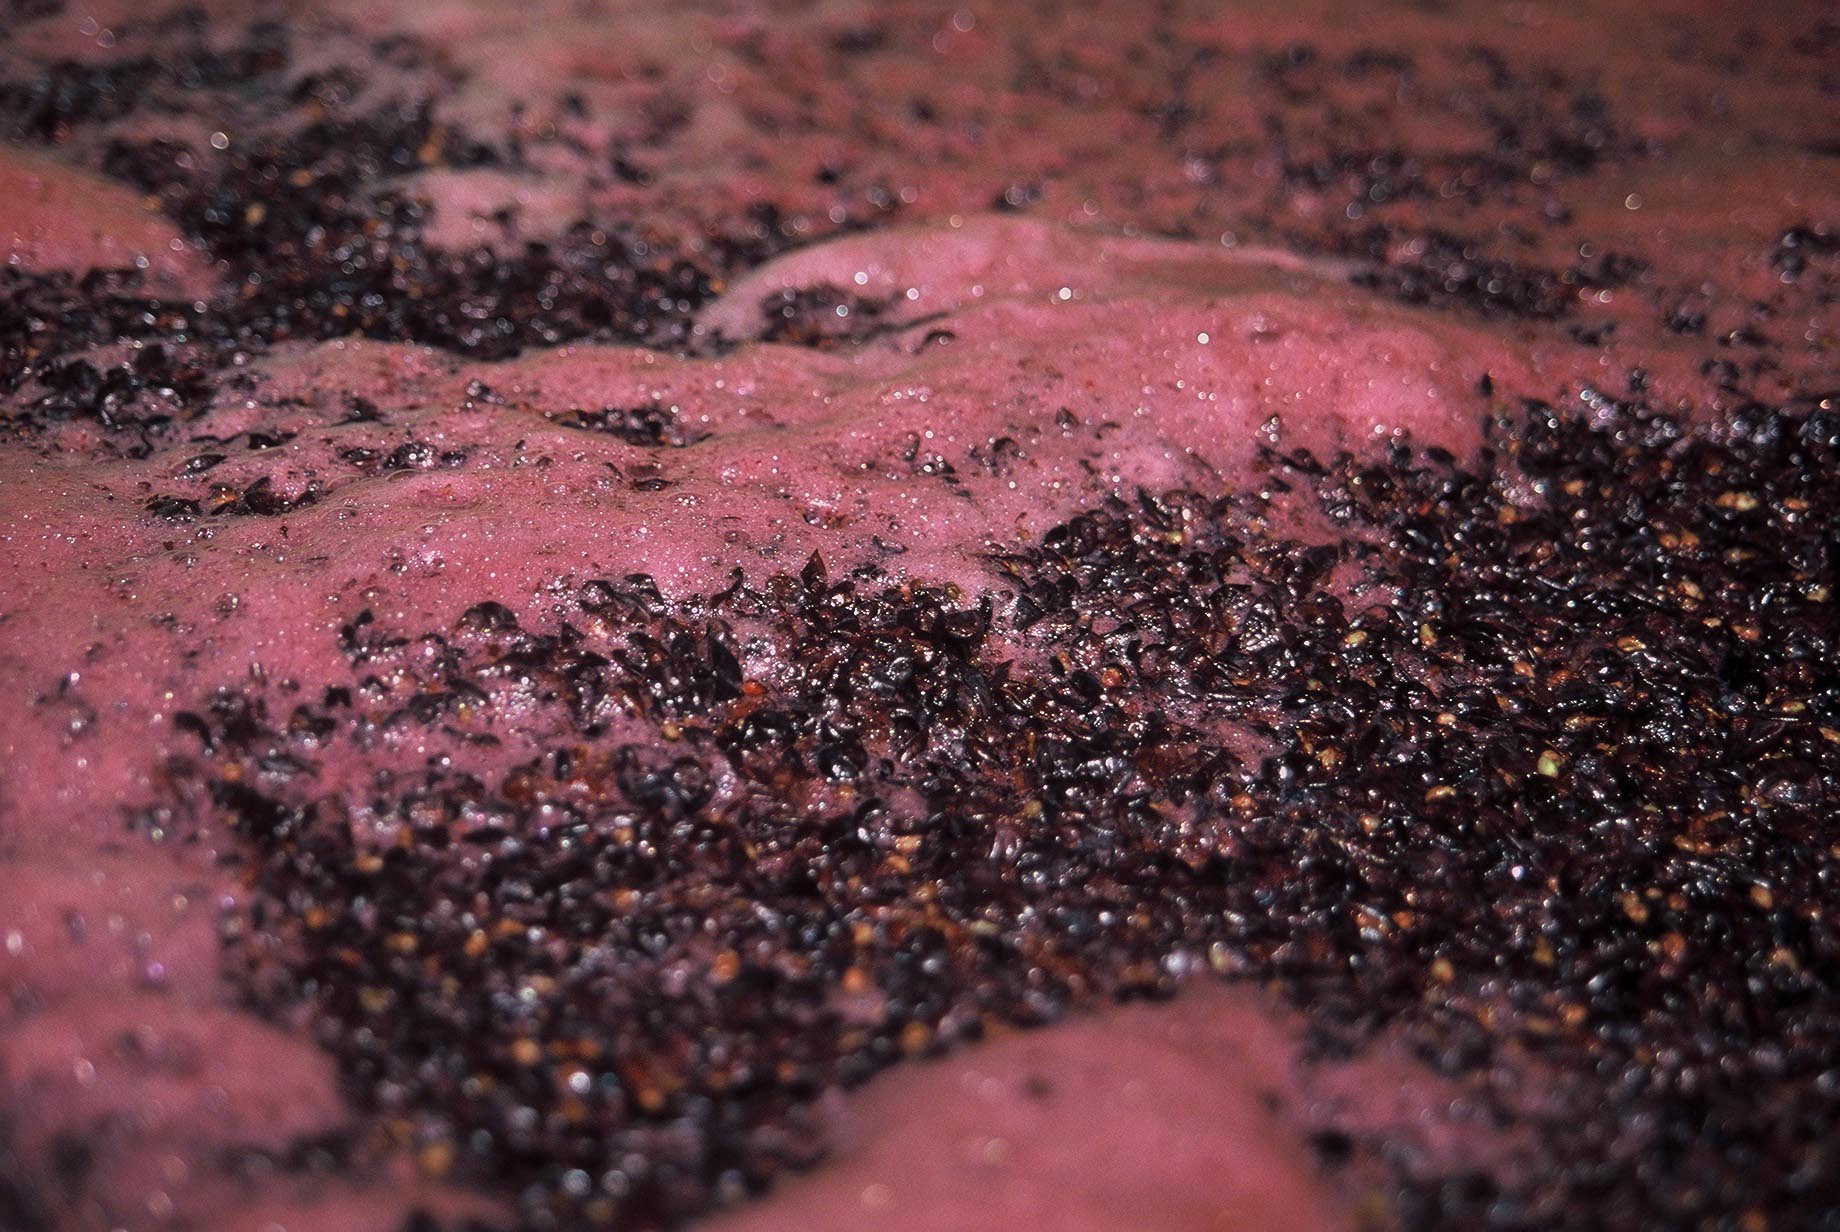
Step 6: Allow for Primary (Alcoholic) Fermentation
What happens now is that the yeast will eat the sugar in the juice, producing alcohol as a byproduct. And so, over fermentation, your mixture will become steadily less and less sweet (as the yeast eat up the sugar) and more and more alcoholic.
Fermentation also generates carbon dioxide (CO2) gas so the next step is hugely important if you don’t want your sealed fermentation bucket to go nuclear on you. What you need is a gas bubbler or bubble airlock—easily purchased from Amazon—which will safely allow the CO2 to escape from your closed container.
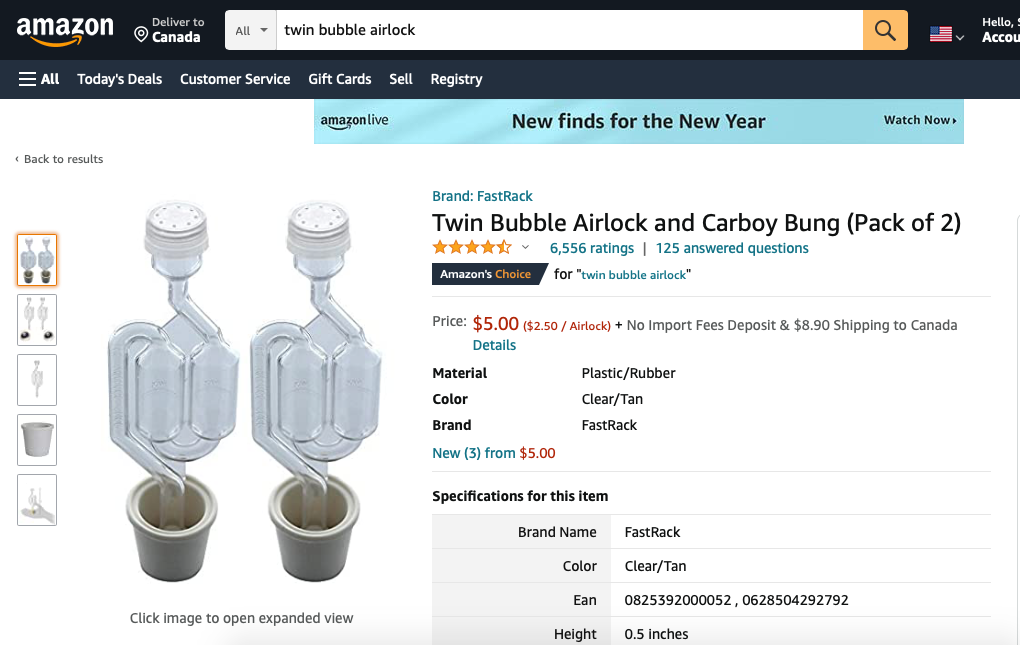
Bubble airlocks are contraptions that allow gas to escape without letting oxygen and other contaminants in. If you’re really up to the task, you can DIY a similar version of this contraption at home, but at only a few bucks per bubble airlock, you may as well just buy them online and not risk screwing it up.
Step 7: Ventilate Your Workspace!
Over the next day or two, you should notice your airlock starts bubbling away, releasing the CO2 generated by fermentation. This bubbling will become more vigorous as the yeast really gets to work over time, so make sure your workspace is well ventilated! Run a pipe from the bubble airlock to the outdoors, or leave your windows open. Just remember: too much carbon dioxide can literally suffocate you, so be careful.
Step 8: Shake Up Your Fermentation Vat on the Daily
Alcoholic fermentation takes anywhere between 7 and 15 days, and every day you must vigorously agitate your grape to keep the yeast active and happily munching away at that sugar. Avoid opening up your vat to do this because every time you do, you expose it to bacteria and oxygen. Rather, just shake it like crazy for a minute or two.
Step 9: Use a Hydrometer to Measure Sugar Content
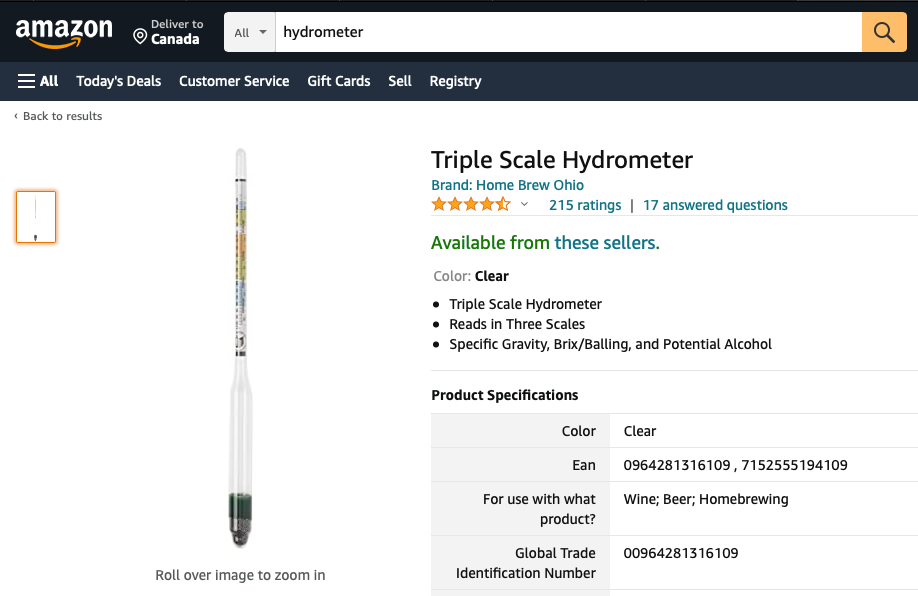
After a week of fermentation, grab a sterilized measuring jug and extract about 250 milliliters (ml) of skinless, seedless juice from your vat. You’re going to measure how much sugar is left in your wine-to-be. And since we’re getting a little sciencey here, we’ll have to work in metric measurements.
Pour the liquid into a jar or tall glass and lower it in a hydrometer, which is a gadget that measures water density and, by inference, sugar content. Use the surface of your wine to read off the hydrometer’s scale. You’re aiming for a density of 1,000 grams per litre (g/l) or just below, so if your first reading is higher than that, give it another day to ferment and then try again.
When your wine density falls below 1,000 g/l, alcoholic fermentation is complete, and you can move on to the next home wine-making step.
Step 10: Macerate Your Grapes
Every day, at least twice a day for between 3 to 7 days, depending on the intensity of the wine you’d like to produce, give your fermentation vat a thorough badgering by shaking it vigorously (just as you did during primary fermentation). This is called ‘maceration’, which is the winemaking process where the tannins, colors, flavors, and aromas are punched from the grape skins and seeds into the grape must.
Importantly: taste daily to make sure your wine is not becoming too astringent (dry, tart, and nasty). You don’t want so much tannin leaching into your wine that it overpowers the fruit flavors.
Step 11: Strain Your Grape Must
Once your wine has achieved the heft you would like, it’s time for secondary (malolactic) fermentation! But first, use a funnel and a sieve to transfer your grape must into a large, collapsible water container, straining out all the seeds and skins in the process.
The reason you want a collapsible water container is so that you can siphon out the remaining air once you’ve transferred across your wine, which will prevent oxidation as it undergoes secondary fermentation (next step).
Pro Tip: If you want even more tannin in your wine, you can press what’s leftover in the sieve (the skins and seeds) into your container. However, if your wine is already quite astringent, rather skip this step.
Step 12: Allow for Secondary (Malolactic) Fermentation
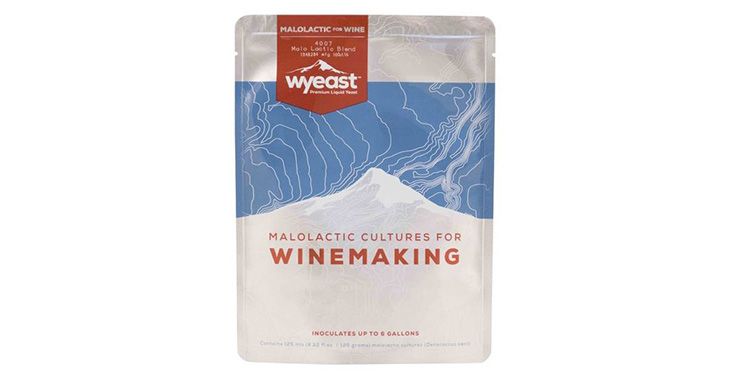
Malolactic fermentation is a process in winemaking in which the tart-tasting malic acid naturally present in grape must is converted to softer-tasting lactic acid, courtesy of friendly malolactic bacteria. Lactic acid creates a softer, rounder, fuller, almost creamy, and even buttery mouthfeel, and it will balance out the astringency and acidity of the wine.
This happens quite naturally over time, BUT rather than risk going to all this trouble only to end up with a harsh, undrinkable wine, you can buy malolactic cultures specifically for home winemaking. And once you’ve inoculated your wine, let it rest for 15 days in a warm, dark place to allow for malolactic conversion to take place.
You may notice gas accumulating in the container and that your wine tastes a little fizzy. That’s carbon dioxide, which is just a byproduct of fermentation. Don’t worry, it’s perfectly normal and once it stops, you’ll know your little cultures are finished doing their job!
Step 13: Rack Your Wine to Improve Clarity
While your wine has been undergoing malolactic fermentation, the dead yeast cells (referred to as the “lees”) and other impurities have had time to settle on the bottom of the container, as we see in the following image ...
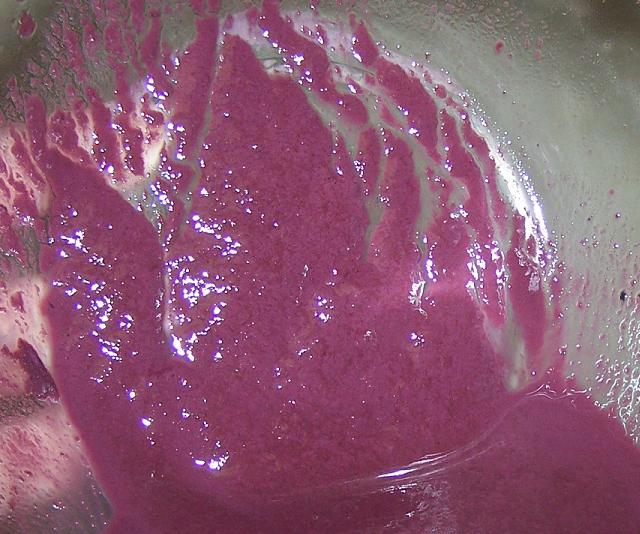
Slowly and carefully transfer your wine into another (sanitized) collapsible container in such a way that you leave these impurities and debris behind, thus improving the quality and color clarity of your wine. In winemaking, this is called “racking”.
You can do this by:
- Carefully (so as not to disturb the lees) elevating the first container above the second (gravity helps you pour). Then:
- Add some sulfites* to the second container to prevent bacterial activity from spoiling the wine in the coming months;
- Insert a section of clear plastic tubing into the first container and submerge. If you’re using your mouth to suck on the tube and get the wine flowing, do not inhale! You may get sucker-punched in the face with a blast of CO2;
- Gently press down on the container so that the juice travels through the tubing; and
- Pour into the second container, as you see in the following image ...

Once it’s done, put the container back in a dark place for another two months. Repeat this process twice (three in total), waiting two months in between.
*How much of the sulfites should I add?
This is unfortunately where the chemistry of wine-making becomes fairly complicated. The precise mass of sulfites you need to add depends on the volume of wine you’re making and its pH or acidity. Home winemaking kits make this part easy but if you’re a stickler for doing it all yourself, check out this awesome sulfite calculator, courtesy of Wine Maker Magazine.
Step 14: Clarify Your Wine (Optional)
One of the final steps in making wine at home is “fining” and this is done IF you feel your wine is still a little hazy and could do with further clarification.
Add approximately 6.5 grams of egg whites per gallon of wine using a metered food syringe. Once you’ve done that, give the wine a thorough shake—the alcohol and acid in the wine will take care of any salmonella—and leave for one day.
Here’s what’s happening: the protein in the egg whites attracts what is referred to as “unstable colloids”, which stick to them like Velcro. “Colloids” may sound gross, but really, they’re just harmless impurities that are clouding the wine. As such, the “fining” process is done for aesthetic reasons: to produce a wine that is crystal clear and pure in color.
So ... if you are vegan or just balk at the prospect of adding egg whites to your wine, you can skip this step. If you do decide to perform this step, however, you’ll have to rack your wine after one day to remove the flotsam and jetsam that precipitate out of the wine as a result of the egg white protein. #delicious
Step 15: Cold Stabilization
Clarification done, put your wine container in the fridge for three days. Cold stabilization causes the tartaric acid in the wine to crystallize out into your container, which prevents it from happening in your wine bottle at the end of the process. (And since crunchy wine is yet to become fashionable, this step is rather necessary.)
After three days, do a final racking to get rid of those crystals and add a final dose of sulfites.
Step 16: Bottling
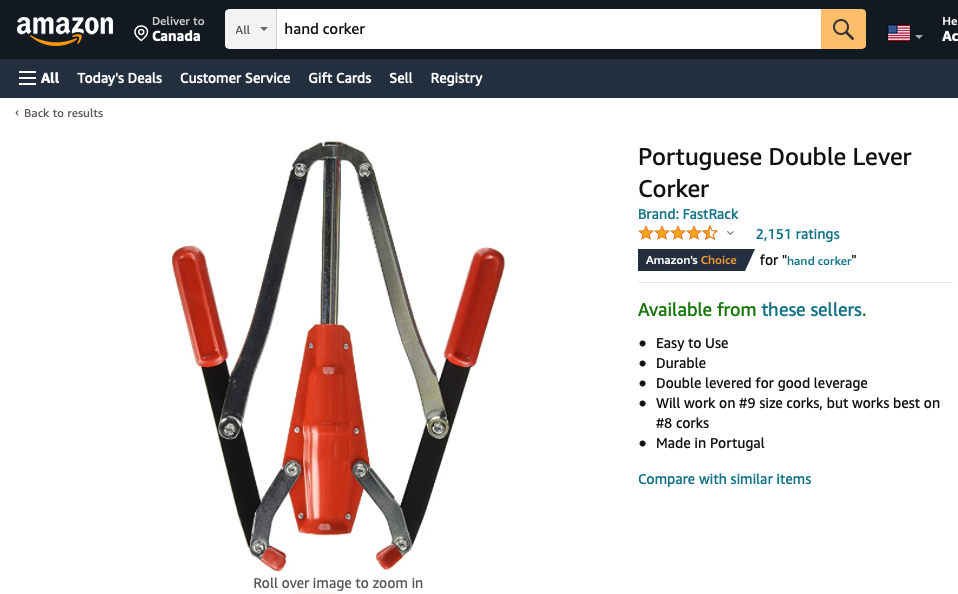
Thoroughly sanitize your wine bottles, pour in your precious homemade wine, and use a manual corker to seal the bottles. This may require a bit of elbow grease to do.
Cap off the wine bottle with a PVC shrinking cap and then hold the bottle upside down in boiling water to seal it in place.
If, after ALL that hard work, you are up to it, why not get creative and design your own wine label? At the very least you should note down the vintage and type of grapes you used to make your wine, especially if you plan to cellar a few bottles.
Step 17: The Final Three-Month Stretch
After bottling, you should store your wine on its side in a cool, dark place to mature for another three months or even a bit longer if you can stand the wait.
Step 18: Drink!
Because of all the work and time required to make wine at home, it makes sense to make a lot of it all at once. This way, you can see if/how it improves with age, although you should be careful about leaving it to mature for too long. Try a bottle right away and then another after a month, two months, three months, and so on.
If you notice that the wine isn’t improving or even starting to taste a little astringent and lifeless, throw a party and force your remaining bottles on everyone. Other ideas for getting rid of bad homemade wine are:
- Birthday gifts (it’s the thought that counts)
- Sangria!
- Cooking (and salad dressings, etc.)
- Polishing jewelry and metal surfaces
- Paint thinner
- Dissolving human remains
- Molotov cocktails
A Final Word on How to Make Wine at Home
This may seem like a formidable list of instructions, but we’ve endeavored to lay out how to make your own wine at home in as much detail as possible so that you don’t arrive at the end of several months of loving toil only to discover that you’ve made several gallons of vinegar.
At the end of the day, anyone can make alcoholic grape juice. It is, after all, very simple organic chemistry that often happens on its own, without intervention. But it takes patience, quality grapes, and precision to make good wine, which is what I sincerely hope you’re sitting with at the end of this “wine making for beginners” guide.
Checklist: What Ingredients Are Needed to Make Wine at Home?
- Wine grapes. Lots and lots of wine grapes.
- Wine yeast or basic baker’s yeast.
- Campden tablets (potassium or sodium metabisulphite) to preserve your wine.
- Malolactic cultures for secondary, malolactic fermentation.
- Patience and restraint.
- And aspirin for the headache you may have after quaffing back your bootlegged wine.
Checklist: What Equipment Is Required to Make Wine at Home?
- A sterilizing agent like Star San brewing sanitizer to thoroughly clean all of your equipment.
- As many large, food-grade-quality plastic buckets (with lids) as you need to accommodate the volume of wine you intend to make.
- One bubble airlock per fermentation vat.
- Collapsible plastic containers or sacs to accommodate the wine while undergoing malolactic fermentation. Again: enough to accommodate the volume of wine you’re making.
- A hydrometer to measure sugar levels.
- About six feet of clear, half-inch plastic tubing.
- A funnel that will fit into the mouth of a wine bottle.
- Empty wine bottles (five per gallon of wine you intend to make).
- Number 9-size, pre-sanitized corks.
- Manual corker, which you can buy from Amazon or possibly rent from a wine supply store.
- PVC shrinking caps.
Looking for more wine learning? Check out our Wine Appreciation flashcards, or more of our FREE wine education resources below.